About The Designer
Hello, my name is Samantha. I am 31, I am an army wife , A DRILL SERGEANTS WIFE. I have survived 3 deployments and endless field training. Rick and I have been married for 13 years in August. I am a stay at home Mom of 3. Richard is 11, Christianna is 9 and Diana is 4. I am an avid photographer. I have many hobbies as well as photography. I like to read, write, make scrap Kits, posers, write tutorials, I have been creating tags since 2003. I am currently attending school for Digital Photography and Media Arts.
I love creating.. Please come back and visit often..


I love creating.. Please come back and visit often..
Social Butterfly
So Rick tells me all the time that I am a social butterfly. So I thought I might as well add these to my blogs as well..


Tuesday, June 7, 2011
NO LONGER ACTIVE
 1:56 PM |
  Posted by
Anonymous
Posted by
Anonymous
This blog is no longer active. I No longer write tutorials under Tutorials By Samantha.
You can find my new blog @ Guilty Pleasures Tags N Tuts ! Please go their for all tutorials and
new ones. If you have questions please feel free to email me thanks :)
Samantha
You can find my new blog @ Guilty Pleasures Tags N Tuts ! Please go their for all tutorials and
new ones. If you have questions please feel free to email me thanks :)
Samantha
 Labels:

Saturday, April 16, 2011
TUTORIAL SITE MOVED
I have moved my tutorials to
http://guiltypleasurestagsntuts.blogspot.com/
Please follow that site
thanks
http://guiltypleasurestagsntuts.blogspot.com/
Please follow that site
thanks
Wednesday, October 27, 2010
Message to all my Followers
Please make sure you follow my new Tutorial Blog
I am moving everything over as well a creating a site for my tutorials.
The site can be found here.
It is on my domain. I dont have to worry about fees or anything else..
Please make sure you follow the new blog..
thanks
Samantha
Saturday, October 9, 2010
Come Join The Party
Wanna join a fun group?! Want to Learn PSP if your just starting out, advanced or intermediate...there is something for everyone! So come on over and check it out!!
The group is slowly getting going, but we are looking for anyone who wants to kick back, relax and have some fun! If you join when it asks for a referral name please put drillsergeantswife
in there!!!
Lots of Great Games, Challenges and More.. Great Staff and Very friendly..
in there!!!
Lots of Great Games, Challenges and More.. Great Staff and Very friendly..
http://www.psp-party.com/
Thursday, October 7, 2010
UPDATE
Tutorials by Samantha is not longer what I will be using for Tutting.
I wanted a change so I came up with a enw name..
PLEASE FOLLOW MY NEW BLOG @ Guilty Pleasures Tuts N Tags
I AM MOVING ALL THE TUTS OVER AS WELL
AS GETTING MY BLINKIE TO THOSE I CT FOR THANKS
ALSO I AM LEAVING THIS BLOG UP
FOR THOSE TUTS LINKED TO IT..
BUT THEY ARE ALSO FOUND ON THE NEW BLOG
Samantha
I wanted a change so I came up with a enw name..
PLEASE FOLLOW MY NEW BLOG @ Guilty Pleasures Tuts N Tags
I AM MOVING ALL THE TUTS OVER AS WELL
AS GETTING MY BLINKIE TO THOSE I CT FOR THANKS
ALSO I AM LEAVING THIS BLOG UP
FOR THOSE TUTS LINKED TO IT..
BUT THEY ARE ALSO FOUND ON THE NEW BLOG
Samantha
Monday, September 20, 2010
Tanted Love

This tutorial was written on September 20, 2010 by Samantha
This is using my own creativity and imagination any resemblances is completely
coincidental
Tube by Ismael Rac
Create new Raster Layer
600x600
Open Roundframe 1
copy and paste as new layer
resize your frame down by 75%
Open your tube
copy and paste as new layer
drab below your frame layer
highlighting your frame layer
grab your magic wand and click inside the frame
go to selections, Modify and expand by 3.
Highlight your tube layer
Go to selections invert and hit delete..
Open paper of choice.
I am using Paper 11
Copy and paste as new layer
Move below all other layers
highlighting your frame layer
grab your magic wand and click inside the frame
go to selections, Modify and expand by 5.
Highlight your Paper layer Go to selections invert and hit delete..
Duplicate your frame
Open your tube again Copy and paste as new layer
Move below duplicate frame layer
With your tube layer highlighted
Grab your eraser and erase the part of the tube that
is below the frame
Highlight your duplicate frame layer
Erase the part of the frame that is covering the top of the tube
Open your Lightfantasy
copy and paste as new layer
Move below all other layers
Open the rose
Copy and paste as new layer
Resize by 60
Moving to the top
See mine for placement
Add your name
copyright and save
IT IS A SIMPLE BUT ELEGANT TAG

Friday, July 2, 2010
My Lil Paradise
This is a fabulous kit by 2 very talented designers
came together to bring us My Lil Paradise
You can purchase this kit @ SATC
Tube of Choice.
I am using a new tube created by Ismael Rac.
You can purchase his tubes and a license to use @
His Store. Please remember to follow all TOU


This tutorial was written on 2 July 2010
by Samantha any similiarities is completely coinicidental.
New raster layer 750x750
open lp-clusterframe 4 by Sky
copy and paste as new layer
resize donw by 90
Open tube
copy and paste as new layer
open LP sand 3 by Sky
copy and paste as new layer
Move below your tube
open your mesh 2 by sky
copy and paste as new layer
resize by 90
duplicate and mirror
move below all other layers
open lp paper 7 by sky
copy and paste as new layer
move below your cluster frame.
Grab your magic wand and click inside
the cluster frame
Go to selections, modify and expand to your liking
Invert
Highlight paper layer and hit delete
open your cocktail by Jill
copy and paste as new layer
Resize by 50 %
Mirror and move below cluster frame
Duplicate the cluster frame and move above the cocktail
Grab your eraser and carefully erase the parts of the
frame that overs your glass.
See mine for reference.
open your flipflops by Jill
copy and paste as new layer
Resize by 50 and move above your cocktail glass
open string 1 by jill
copy ans paste as new layer
Move below all other layers
Add your name
copyright and save
You are done.
open lp-clusterframe 4 by Sky
copy and paste as new layer
resize donw by 90
Open tube
copy and paste as new layer
open LP sand 3 by Sky
copy and paste as new layer
Move below your tube
open your mesh 2 by sky
copy and paste as new layer
resize by 90
duplicate and mirror
move below all other layers
open lp paper 7 by sky
copy and paste as new layer
move below your cluster frame.
Grab your magic wand and click inside
the cluster frame
Go to selections, modify and expand to your liking
Invert
Highlight paper layer and hit delete
open your cocktail by Jill
copy and paste as new layer
Resize by 50 %
Mirror and move below cluster frame
Duplicate the cluster frame and move above the cocktail
Grab your eraser and carefully erase the parts of the
frame that overs your glass.
See mine for reference.
open your flipflops by Jill
copy and paste as new layer
Resize by 50 and move above your cocktail glass
open string 1 by jill
copy ans paste as new layer
Move below all other layers
Add your name
copyright and save
You are done.
Sunday, June 27, 2010
Emotional
Something a bit different..
Than my usual.
Written by Me Samantha on 27June2010

scrap kit by Stacie Cakes
an image of your self or daughter
I am using myself..
New raster later 750x750
Open paper 19
copy and paste as new layer
hide that layer
open frame 1
copy and paste as new layer
resize down by 80%
open your poser
copy and paste as new layer
Move to the right hand side of the frame
open your purse element
resize down by 50%
see mine for placement
open element ipod2
copy and paste as new layer
resize to your liking and see mine for placement
open your misc elements
copy and paste as new layer
Move below all other layers
Back to your paper layer
unhide it..
I am leaving it alone
open your stargem element
copy and paste as new layer
Move above all other layers
Duplicate and move both to the bottom left.
open your boot
copy and paste as new layer
resize down by 65%
Move above your purse layer
placing where i did mine
Add your name and what ever else you wish
Dont forget your copyright.
Save and your done
an image of your self or daughter
I am using myself..
New raster later 750x750
Open paper 19
copy and paste as new layer
hide that layer
open frame 1
copy and paste as new layer
resize down by 80%
open your poser
copy and paste as new layer
Move to the right hand side of the frame
open your purse element
resize down by 50%
see mine for placement
open element ipod2
copy and paste as new layer
resize to your liking and see mine for placement
open your misc elements
copy and paste as new layer
Move below all other layers
Back to your paper layer
unhide it..
I am leaving it alone
open your stargem element
copy and paste as new layer
Move above all other layers
Duplicate and move both to the bottom left.
open your boot
copy and paste as new layer
resize down by 65%
Move above your purse layer
placing where i did mine
Add your name and what ever else you wish
Dont forget your copyright.
Save and your done
Monday, June 14, 2010
Paparazzi

This tutorial was written on June 14, 2010 by Samantha
Using my own creativity and imagination and similarities is completely coincidental.
Scrap kit Paparazzi by Angel Designz
Tube by Keith Garvey You can purchase his work @ MPT
No outside masks used.
Create new Raster Layer 650x650
open frame 8
copy and paste as new layer
resize down by 80%
open city scape 2
copy and paste as new layer
Move below all other layers
grab your magic wand
highlight the frame layer
click inside the frame
Once you have your marching ants
Go to selections modify
And expand by 3
highlight your cityscape
go to selections
And invert and hit Delete
Open paper14
copy and paste as new layer
Move below your cityscape
grab your magic wand
highlight the frame layer
click inside the frame
Once you have your marching ants
Go to selections modify
And expand by 10
highlight your paper layer
go to selections
And invert and hit Delete
Open glittersplat 3
copy and paste as new layer
Move into position and move
your paper layer
Duplicate and move into differet positions.
Open your tube
copy and paste as new layer
Move above all other layers
Placing in the center
open your phone
copy and paste as new layer
resize to your liking and free rotate to the left
by 21
open clutchpurse2 copy and paste as new layer
resize to your like and move above your cellphone
Below your tube
Open your Camera1
copy and paste as new layer
resize to your liking
Mirror and move below your tube layer
open your sparkles
copy and paste as new layer
resize to your liking
move below your tube layer
open your word art 5
copy and paste as new layer
see mine for placement
Add your name, copyright and save. Your complete.
I would love to see your results just send them to me at
babygirl_0242002@yahoo.com. PLEASE PLACE
DND-TUTORIAL RESULTS in the subject so i do not delete it.
XOXO,
Samantha
Using my own creativity and imagination and similarities is completely coincidental.
Scrap kit Paparazzi by Angel Designz
Tube by Keith Garvey You can purchase his work @ MPT
No outside masks used.
Create new Raster Layer 650x650
open frame 8
copy and paste as new layer
resize down by 80%
open city scape 2
copy and paste as new layer
Move below all other layers
grab your magic wand
highlight the frame layer
click inside the frame
Once you have your marching ants
Go to selections modify
And expand by 3
highlight your cityscape
go to selections
And invert and hit Delete
Open paper14
copy and paste as new layer
Move below your cityscape
grab your magic wand
highlight the frame layer
click inside the frame
Once you have your marching ants
Go to selections modify
And expand by 10
highlight your paper layer
go to selections
And invert and hit Delete
Open glittersplat 3
copy and paste as new layer
Move into position and move
your paper layer
Duplicate and move into differet positions.
Open your tube
copy and paste as new layer
Move above all other layers
Placing in the center
open your phone
copy and paste as new layer
resize to your liking and free rotate to the left
by 21
open clutchpurse2 copy and paste as new layer
resize to your like and move above your cellphone
Below your tube
Open your Camera1
copy and paste as new layer
resize to your liking
Mirror and move below your tube layer
open your sparkles
copy and paste as new layer
resize to your liking
move below your tube layer
open your word art 5
copy and paste as new layer
see mine for placement
Add your name, copyright and save. Your complete.
I would love to see your results just send them to me at
babygirl_0242002@yahoo.com. PLEASE PLACE
DND-TUTORIAL RESULTS in the subject so i do not delete it.
XOXO,
Samantha

Friday, May 28, 2010
Update
I am behind on a few tutorials. I am still in the process of moving
things over to my Tutorial Site. As you noticed the Blog is still open and the
the tutorial images posted here with a link to the tutorial. So please remember
that when you see the "tutorial can be found Here" or a block that
says tutorial. Click on that and it will take you to the tutorial
says tutorial. Click on that and it will take you to the tutorial
My tutorial site can be found @
So please remember to book mark that page as well..
You are more than welcome to grab a tutorial blinkie and
link it to that site.. Below is a blinkie that I have changed the
link of for you

Just grab the code and add it to your blog..
As always I am catching up on writing tutorials and getting them posted
as quickly as I can. May has been a very bad month for me.
Please if you have questions or comments please feel free to leave a comment.


Tuesday, May 18, 2010
Tutorial Site
I am in the process of moving my Tutorials to a Site
I will still keep this blog open, but all the tutorials will
be found @ Tutorialz By Samantha.
It is a work in progress and I am hoping to have them all
added soon but I am not sure when it will be complete yet.
The only tutorials you will not find their
is the exclusive tutorials for Creative Addictions.
If you have questions please do not hesitate to contact me.
thank you

Wednesday, May 12, 2010
All My Love
CREATIVE ADDICTIONS EXCLUSIVE TUTORIAL

You can find this tutorial Here
Remember you dont have to be a member to view
the tutorials on Creative Addictions..


Friday, May 7, 2010
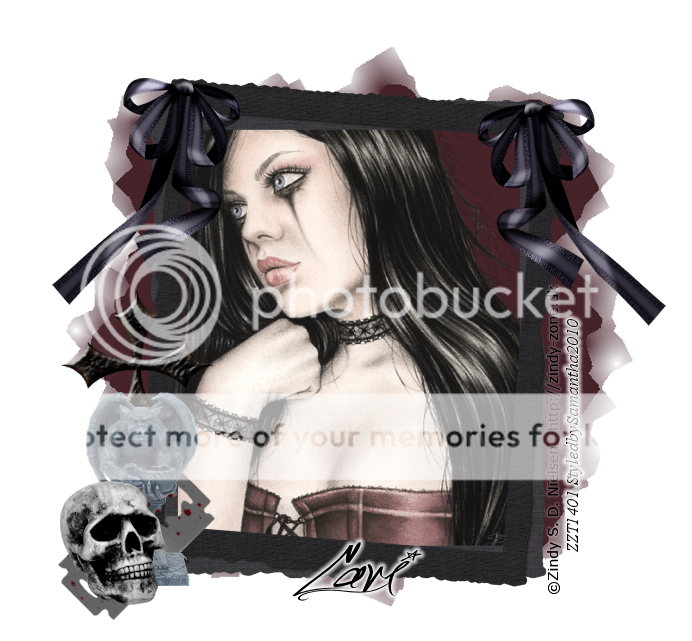
Glamourous

Supplies Needed
ScrapKit Glamour Girl by Grunge & Glitter
You can purchase her kit here
Tubes by Keith Garvery
you can purchase his work here
This tutorial was written on 7May2010 by Samantha.
Any similarities is completely coincidental.
Create new layer 700x700
open frame 1 copy and paste as new layer
Resize down by 80%
open both of your tubes.. I am using 2
that have close up layers
Grab one close up layer
copy and paste as new layer
move below your frame layer
Grab your magic wand
and select in the one side of the frame
invert and hit delete.
Do the same with the second tube
Open paper 14 copy and paste as new layer
move below the tube layers
Highlight the frame layer
grab your selection tool
click inside both sides of the frame
Go to selections, modify and expand by 5
Highlight the paper layer and go to selections
invert and hit delete
Highlight tube layer 1
and make it Luminace legacy.
do the same for the other
open doodle 3
copy and paste as new layer
resize by 75%
Move below all other layers
duplicate and flip
open element cluster
copy and paste as new layer
Resize by 80
move above all other layers
place in the center of the frame
open your full size tube
copy and paste as new layer
I used both..
Place on each side of the frame
Add name and copyright dont forger to save.
Your done. I would love to see results.
open frame 1 copy and paste as new layer
Resize down by 80%
open both of your tubes.. I am using 2
that have close up layers
Grab one close up layer
copy and paste as new layer
move below your frame layer
Grab your magic wand
and select in the one side of the frame
invert and hit delete.
Do the same with the second tube
Open paper 14 copy and paste as new layer
move below the tube layers
Highlight the frame layer
grab your selection tool
click inside both sides of the frame
Go to selections, modify and expand by 5
Highlight the paper layer and go to selections
invert and hit delete
Highlight tube layer 1
and make it Luminace legacy.
do the same for the other
open doodle 3
copy and paste as new layer
resize by 75%
Move below all other layers
duplicate and flip
open element cluster
copy and paste as new layer
Resize by 80
move above all other layers
place in the center of the frame
open your full size tube
copy and paste as new layer
I used both..
Place on each side of the frame
Add name and copyright dont forger to save.
Your done. I would love to see results.
Please feel free to send them my way.
Wednesday, April 28, 2010
Unlikely Ballad
Scrap kit By Polkadot Scraps. Unlikely Ballad is a PTU kit
You can purchase this kit here
Tube is the art work of Ismael Rac. You can purchase his work
and a license to use at Artistic Minds Inc
Mask128 by Weescotslass Creations
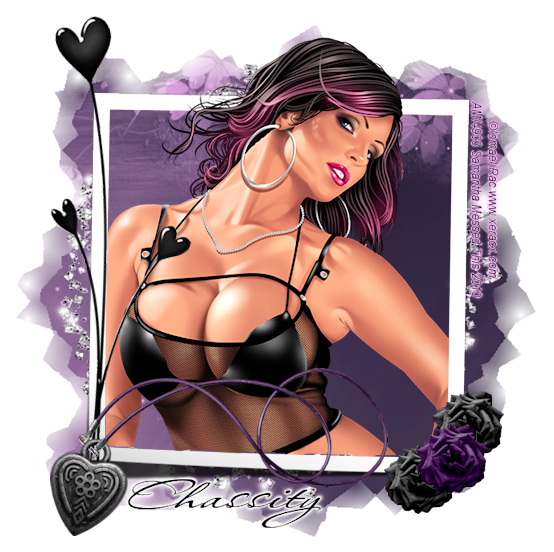
This tutorial was written on 27 April 2010 by Samantha
Any similarities to this is completely coincidental
Create New raster layer 700x700
You can resize it later if you would like.
open frame 2 copy and paste as new layer
Open your tube copy and paste as new layer
Duplicate your frame and move one above the tube layer
Grab your eraser and carefully erase the bottom that is sticking out
from the frame . Once you have that done, hightlight the duplicate frame
layer and erase the part of the frame that covers the hair.
Open paper 1 copy and paste as new layer
move below all other layer
go to Layer load/save mask and open your mask of choice
Merge Mask group
Open element 16 copy and paste as new layer
Free rotate to the left by 10
Move to the left of the frame
Open element 14 copy and paste as new later
Move to the bottom left ( see mine for exact placement)
Open frame 6 copy and paste as new layer
move above your mask group
Grab your eraser and carefully erase the parts that is
on the inside of frame 2
Open elements 35 and 36
copy and paste both as new layer
Resize element 35 down by 30 % and move to the
bottom right of your frame
Resize element 36 down by 30% and move to
the right of element 35 Duplicate element36 and
place on the other side of element 35
( see mine for exact placement )
Add your name, Copyright and save your done.
Subscribe to:
Posts (Atom)


My Blinkies


Hang Outs

Promoting At


My Favorite Reads


Lorem Ipsum
Background Layout and Header made by me Samantha.
Scrap kit used for the layout is Amour by Addictive Pleasures.
Tube for header by Ismael Rac Scrap Used is Amour
Scrap kit used for the layout is Amour by Addictive Pleasures.
Tube for header by Ismael Rac Scrap Used is Amour